From Category: Bali Body

Tuesday, 18 August 2020
Hey lovelies!
I really hope you're not sick of me talking about Bali Body yet because I have so many more goodies to talk to you about! This brand has such incredible products that it's hard not to give them the time they deserve and of course Bali Body Babes are the best! Today's post is all about a couple of products in their self tanning range - the Bali Body Gradual Tan and the Bali Body Face Tan Water - which is made so much more entertaining by the fact that prior to this, I had NEVER self tanned before. Let's just say I was nervous and had a little trouble because of my inexperience.
Starting off with the Gradual Tan, this was a really nice and easy product to apply. I specifically asked for the Gradual Tan over the tanning mousse because I knew that on my first time self tanning, I would need all the help I could get and if the process was simple then I couldn't go wrong!
I first tried this product at the peak of the lockdown because like many others, it was the perfect time to try something new without worrying that it might go wrong and I would have to go out in public looking like a mess! I was pleasantly surprised to find that it all worked out okay and I had very few, minor problems that were mostly caused by me haha!
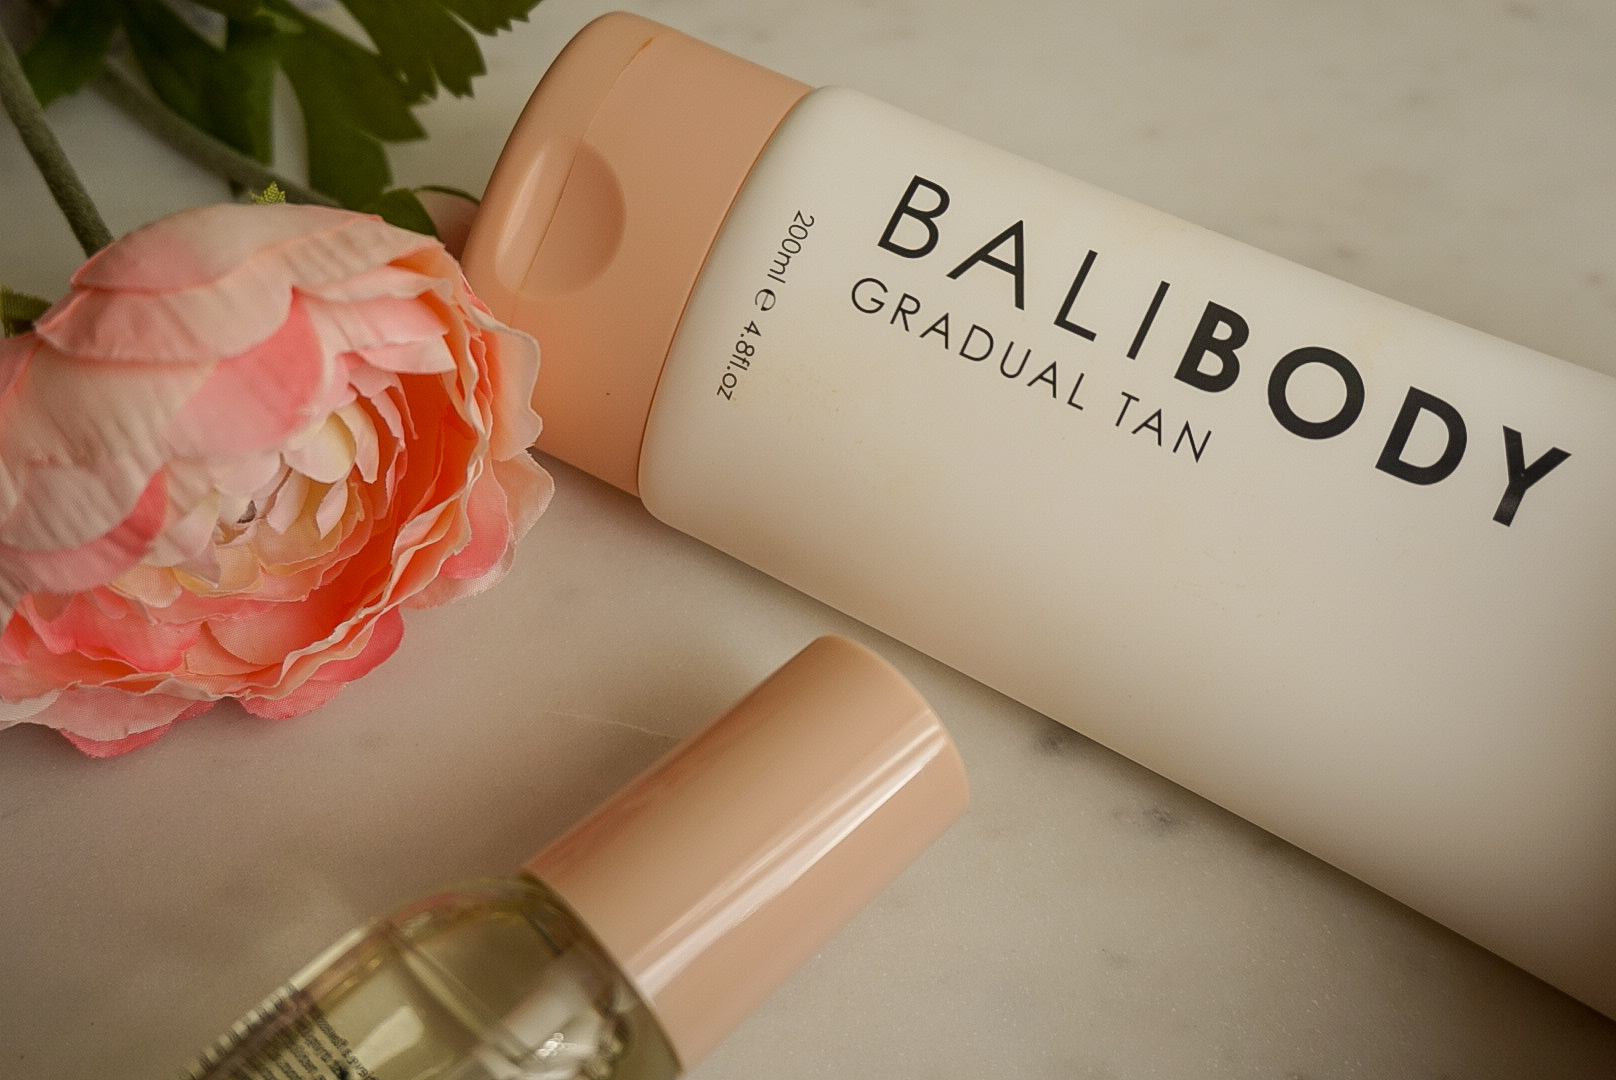
The Gradual Tan, with its white lotion consistency, applies extremely smoothly but as with other tanning products that do not have a colour guard, it can be difficult to remember where you have applied the tan. With that being said, that is a small price to pay for the great tan that you are left with and it's something that can be easily combated by simply starting from the bottom of your body (i.e. your legs/feet) and working your way up.
I loved the fact that I didn't have to be dark from the get go but instead had the option to build the tan up as I already had the base from the first application and it was perfect for adding more tan to the couple of patches that I had missed on my back...yes I had the typical first timers issue of not doing my back properly!
The total developing time is around 8 hours but because of my plans and the way things generally worked out on the day of application (evening), I ended up leaving my tan and showering it off the day after. This definitely gave me a lot of time to assess how the colour was developing, gradually of course, and it was so cool!
I was pleasantly surprised to find that the Gradual Tan was filled with nourishing ingredients such as coconut oil, coffee seed extract and cocoa butter. They all added to the pamper side of my tanning session and made it less annoying if I had forgotten to apply mosturiser to any dry areas of my body beforehand.
Thankfully I picked up some tips from my first time experience with a self tanner:
- Make sure to moisturise all dry areas of your body prior to application
- Ensure that the mosturiser has soaked all the way into the skin before you proceed
- Wash your hands thoroughly after applying the tan to your body
- When it comes to your hands and feet, use the excess tan for application because wow does it go wrong if you don't...
On that last point, I thought it would only be fitting to let you know about another tanning faux pas I had. I'll keep it short and sweet but I honestly found it quite hilarious how confident I was applying the tan straight from the bottle, to a paper towel, onto my hands and then waking up to find the tan had settled into every crease on my hands in a slightly orange looking fashion and seeming surprised that my "trick" didn't work out well - amateur I tell you! Trust me, this was very much a problem with the user, not the product! If this ever happens to you, just read my Bali Body Self Tan Remover post for a quick and easy solution.
Finally, the self tanner smell of this product was actually quite nice and unusual. I don't know what others are like but this was one that only rubbed off on the clothes I was wearing after application (i.e. my pyjamas). Once you have your shower the only thing that has a very light scent to it is your skin but again, this is the nature of any skin product that has a slight fragrance.
Here are a few before and after photos for you:


Now onto the Bali Body Face Tan Water! This is another really cool product and one that I hadn't heard of before - self tanner virgin over here and all! Just like a toner, you pump a couple of drops of the Face Tan Water onto a cotton pad and apply it all over your face and neck, ensuring that you evenly distribute the product.
Just as Bali Body state on their website, "it's skincare meets self tan" and I have never loved the idea of anything more and this is most likely what made me want to get my hands on it. More importantly, the Face Tan Water with its 4-6 hour developing time can be added into your daily routine at the mosturiser stage; simply add a few pumps to the mosturiser of your choice and watch as your face slowly begins to gain a glowy tan as the hours pass.
My final and probably the most important thing to say about the Gradual Tan and the Face Tan Water is that they DO NOT transfer!! Oh my goodness, I cannot tell you how many times I have looked at the aftermath of people's sheets after they self tan and they are left with what looks like the death of 1,000 cheese puffs hahaha! That being said, I did wear long sleeved pyjamas so if you do ever worry that it might transfer, just grab some clothes you don't mind messing up and wear those to bed.
Overall, I am incredibly happy about my first time self tanning and I was glad that I had the help of Bali Body's range to get me through it successfully. I see plenty more sessions self tanning in the future, yay!!!
XOXO
P.S. Let me know your thoughts on these two lovely products if you've had the chance to try them out. What was your experience like?

Tuesday, 5 May 2020
|
| Shop it now: Bali Body Self Tan Remover |
Hey lovelies!
Nobody hates a tanning disaster more than me and I've only ever self tanned once in my life so that's saying something! I feel as though once is all it takes to really solidify any opinions you have on tanning and I knew from the start that a build up of tan was one of the things that I wanted to definitely avoid.
So, let's begin with a little storytime for you: I recently tanned my body with the Bali Body Gradual Tan (for which a review will be coming soon) and clever old me thought it would be a good idea to apply the tan straight onto my hands rather than using the excess product and blending it nicely along the top of my hands and along my fingers. I'm sure you can see where I went wrong...and of course for days after I was walking around the house with this uneven tan on my hands that had settled very well into every dry patch it could find on my regularly-washed-in-quarantine-hands.
 |
| Shop it now: Bali Body Exfoliating Mitt |
After about 4 days of having to see my hands look like they had been dipped in mud and seeing them slowly but surely fading in some parts and not others (the dry patches were stubbornly not letting the product go), I decided that enough was enough. I grabbed the Self Tan Remover and Exfoliating Mitt from Bali Body's Vegan self tan range and let the wonderful pair work their magic!
First off, I have to say that the Self Tan Remover is a god send for first timers like me! The fact that this product can work so well both with and without the exfoliating mitt to gently remove your tan with only a 5 minute processing time before you can wipe or rinse away your old tan is what makes it so special. I was not expecting it to work so quickly, let alone remove the stubborn product that was clinging to my dry skin.
What's more, the oh so lovely combination of the Rose Water scent and the key ingredients in the tan remover (Jojoba Seed Oil, Aloe Vera, Glycerin and Cucumber Extract) helped to ensure that even though I was exfoliating the top layer of my skin, I was replacing what was being removed with pure nourishment! I was pleasantly surprised by how easy the entire process was from start to finish and now that the rest of my tan is getting older, I have zero hesitation that this product will be my go-to when renewing my body back to its pale self haha!
Take a look at the video below to see me become fresh and tanless!
Be sure to let me know if you will be picking this product up to solve all of your old tan/build-up of tan issues, I'd love to hear your thoughts on it too!
XOXO
XOXO

Friday, 10 April 2020
|
| Shop it now: Bali Body Highlighter Stick (3 shades) |
Hey lovelies!
I hope you're all doing well considering the circumstances! I am sorry it took so long to get this post up for you but as with a lot of us, it took me some time trying to get used to this isolation thing and what it meant for me and my loved ones.
Now I know that it's been a "hot minute" (as they say) since I spoke about these gorgeous highlighter sticks from Bali Body on my blog but I couldn't let this look and these photos that I took in February go to waste. I promised you a post where I wear all three shades and you're going to get that right now!

So I don't think that it's a secret that I was over the moon when I received these products in the mail because as a makeup lover, the chance to try out something new and exciting is one that I am always ready for especially now that we are in isolation.
I took it upon myself to try something a little different with the highlighter sticks this time and use the bronze shade 'Sunkissed' as an eyeshadow to give me a tanned glow that perfectly complemented my eyes, making the green pop! Thankfully, due to the formula of the product itself, it's super easy to blend across my eyelids but I definitely recommend applying the highlighter straight to your lids and then blending the colour out with your go-to eyeshadow brush and building it up to whatever 'glow level' you prefer.
I took it upon myself to try something a little different with the highlighter sticks this time and use the bronze shade 'Sunkissed' as an eyeshadow to give me a tanned glow that perfectly complemented my eyes, making the green pop! Thankfully, due to the formula of the product itself, it's super easy to blend across my eyelids but I definitely recommend applying the highlighter straight to your lids and then blending the colour out with your go-to eyeshadow brush and building it up to whatever 'glow level' you prefer.

As for 'Rose Gold', it's a beautiful shade for highlighting your brow bone and the inner corners of your eyes, which I did in both of the looks I've showcased here on my blog. 'Moonlit' on the other hand is what I tend to use on my cheekbones as I prefer an opal shade that blends well with my blusher and bronzer/contour without adding too much additional colour. The same can be said for highlighting my collarbone as nobody wants to see random streaks on my skin so I opted for the lightest highlighter shade for my fair skin tone.
 | |
|

Tuesday, 25 February 2020
|
| Shop it now: Bali Body Highlighter Stick (3 shades) |
Hey lovelies!
Ahh this is such an exciting post for me and I can hardly contain my happiness! I have been following Bali Body for a while now and whilst I can't claim to be a self-tan connoisseur, I am a beauty fanatic so you know that the moment I saw Bali Body in my inbox presenting me with the chance to try out the first product in their cosmetic range, I couldn't help but jump at the chance!
The Bali Body Highlighter Stick is Vegan, cruelty free, universally flattering AND comes in three equally gorgeous shades: Sunkissed (bronze tones), Rose Gold (rosy tones) and Moonlit (champagne tones). The pigment on these highlighters is unreal and the fact that the product is buildable makes it so easy to go from a dewy, fresh-faced look to high-shine nightime glam - all bases are covered for sure!

Now
I must admit that when I first tried this product, I was a little
scared. I'm someone who dabbles more with powder products compared to
cream/liquid products so having to use a liquid highlighter? Well, let's
just say I was out of my depth!
Thankfully though, due to the consistency and each universal shade, I was able to quickly pick up the technique and find a way to apply it that suited me. I think that's what I love most about it to be honest; it serves its purpose without causing too much hassle or leaving you wanting to rub it off instantly - definitely a bonus in my eyes after some of the other liquid highlighters I've tried!

Where I applied 'Rose Gold' & 'Moonlit':
- High points of my cheeks
- Bridge of my nose
- Tip of my nose (my favourite)
- Cupid's bow
- Brown bone
- Inner corners of my eyes
- Temples
- Collar bone

With a little trial and error, I was able to figure out what beauty tools worked best to give me a seamless finish, no harsh streaks and maximum glow! A sculpting brush with soft bristles was my best friend especially for applying the product on my cheekbones because not only did it blend it to perfection but it allowed me to add just the right amount of highlighter without having to cake it on.
Let's be honest, the last thing you want is a beauty tool that takes away the main purpose of a product but I didn't experience this one single bit! If you're ever in doubt about what to apply it with, use your fingertips so that the product is warmed up and melts into your skin for that effortless glow from within.

Be sure to leave me a comment down below letting me know which shade is your favourite, will you be trying them out? Follow the links to shop the full cosmetic range and get your hands on these beautiful highlighters, you won't regret it!
Stay
tuned for my next blog post where I showcase a look I created using all
three of these stunning shades. You won't want to miss it since I do my best to capture that
flawless Bali Body Babe glow that every girl loves, I'll see you very
soon!
 |
| *Gifted but all opinions are my own* |
Subscribe to:
Posts (Atom)


